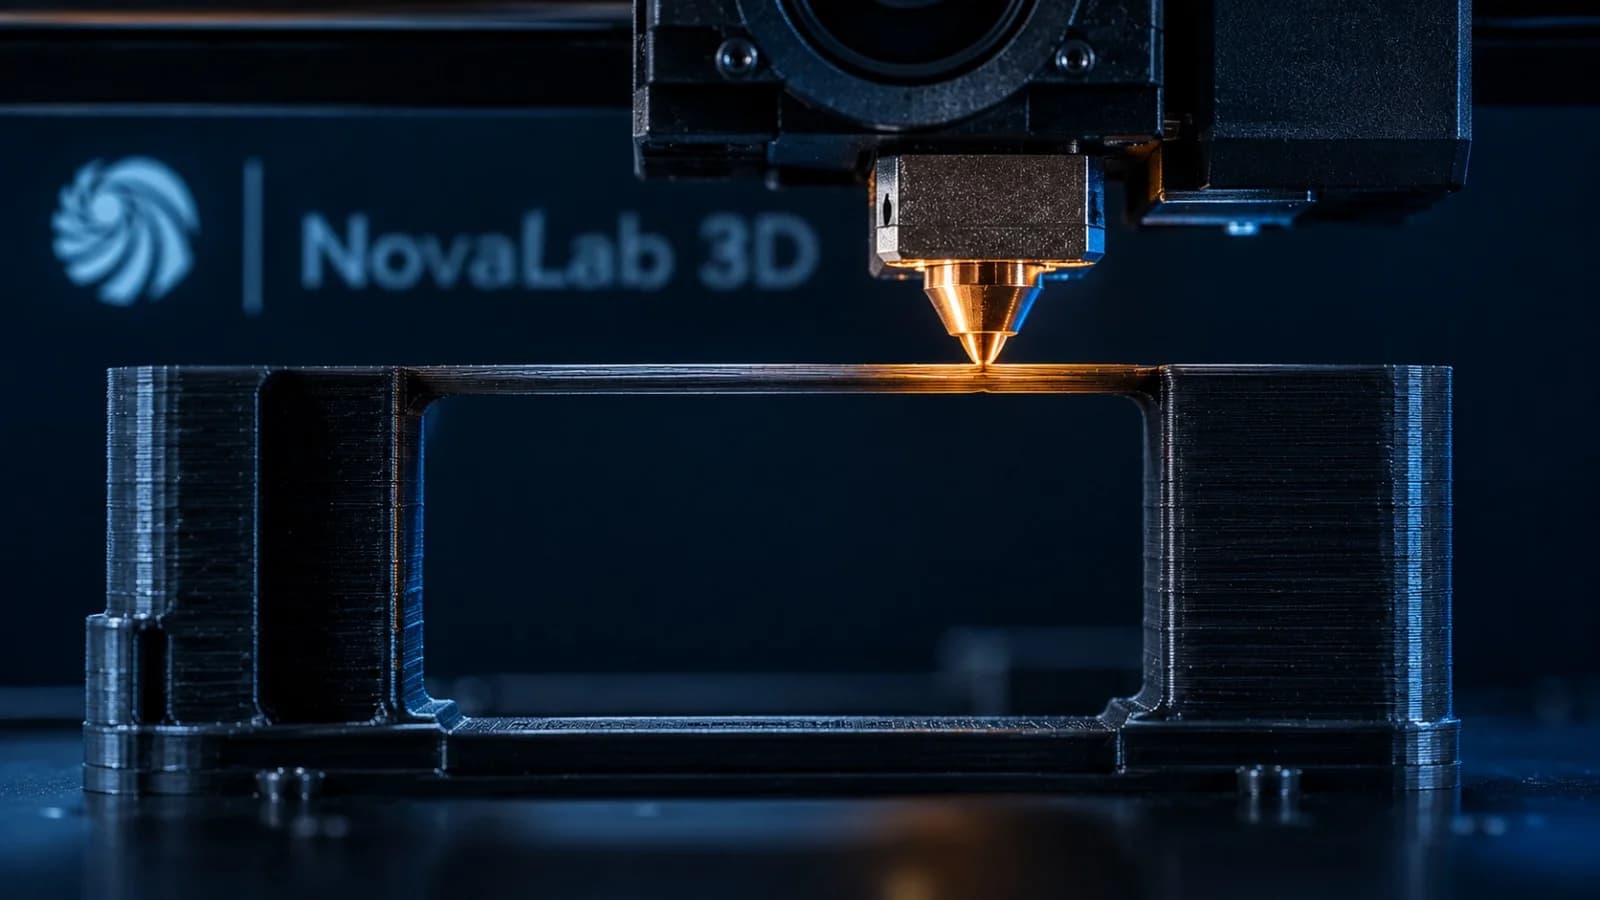
Designing Brass Threaded Inserts for 3D Prints
Inserting heat-set brass inserts into 3D prints creates reusable metal threads that prevent stripping, allowing assemblies to be repeatedly fastened under high loads.
Splicing Metal Strength into Polymer Prints
While FDM 3D printing is highly versatile, plastics are inherently soft. If your printed part requires repeated assembly, bolt tightening, or heavy fastening loads, threading screws directly into the plastic perimeters will quickly lead to stripped threads and failed joints.
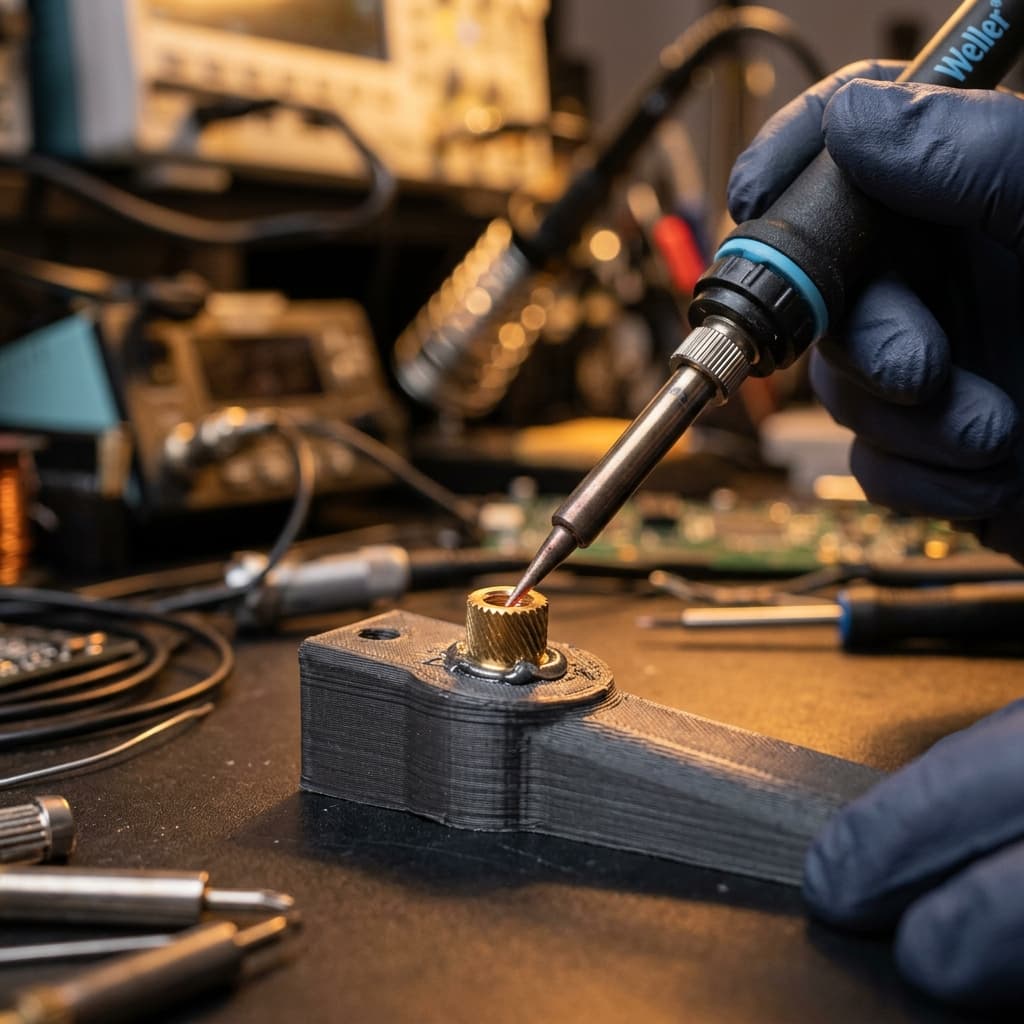
The professional solution is to use heat-set brass threaded inserts. These are knurled brass cylinders that are pressed into printed holes using a standard soldering iron. The heat melts the surrounding polymer, allowing the knurls to lock securely into the structure as it cools.
Designing brass inserts into your parts provides metal-on-metal threads that can be fastened and unfastened hundreds of times without losing holding force.
1. Hole Sizing is Critical
For a heat-set insert to achieve maximum pull-out and torque resistance, the printed hole must be sized precisely.
- If the hole is too small, excess molten plastic will squeeze out of the top, creating a messy flange and potentially getting inside the threads.
- If the hole is too large, there will not be enough plastic to lock around the knurls, dramatically reducing the insert's load-bearing capacity.
Our Recommendation: Always refer to the manufacturer datasheet for the specific insert (e.g., Ruthex or CNC Kitchen). As a rule of thumb, the printed hole diameter should be slightly larger than the minor diameter of the insert, but smaller than the major (outermost) knurled diameter. We recommend a taper of 1-3 degrees to ease insertion.
2. Reinforcing the Surrounding Walls (Bosses)
To prevent the hot insert from splitting the printed boss or causing it to bulge outward, you must ensure sufficient wall thickness around the insert hole.
- Minimum Wall Thickness: The thickness of the plastic boss surrounding the insert should be at least 1.5 to 2 times the bolt diameter.
- Increase Perimeters: In your slicer, increase the perimeter count (wall loops) so that the boss is completely solid plastic. A hollow infill area around a threaded insert will collapse under the clamping pressure of a tightened bolt.
3. Installation Best Practices
- Use a soldering iron tip that fits inside the insert without touching the threads.
- Set the iron to the melting temperature of the polymer (e.g., 220°C for PLA/PETG, 260°C for ABS/Nylon).
- Press vertically with light, steady pressure. Allow the heat to do the work; forcing the insert in will lead to misalignment.
- Stop when the insert is flush with or slightly below the plastic surface.
Need Help with Fastening Design?
At NovaLab 3D, we can advise on the best insert types for your CAD geometries and handle the post-assembly installation in-house. Contact Keagan Walker to discuss your project requirements.
Frequently Asked Questions
Keagan Walker
Founder & Lead Designer
NovaLab 3D is a boutique engineering and additive manufacturing studio based in Pickering, North Yorkshire. We provide B2B clients and product developers with direct access to lead engineering consulting, fast 48-hour turnarounds, and custom FDM production runs.