Waterproofing 3D Prints: Best Practices for Gaskets and Enclosures
FDM prints are naturally porous. Achieving watertight parts requires increasing wall perimeters, over-extruding slightly, and applying clear epoxy coatings to seal layers.
The Challenge of Watertight Additive Manufacturing
One of the most common issues designers face when printing custom enclosures, liquid tanks, or outdoor sensor boxes is water leakage. On a macroscopic level, a 3D printed wall looks solid. On a microscopic level, FDM prints are full of tiny gaps between the layers and where the infill meets the perimeters.
Under pressure, water will find these paths and seep through the walls. This guide outlines design and slicing strategies for printing truly waterproof parts.
To achieve watertight prints, increase extrusion multipliers and wall counts in the slicer, design tongue-and-groove joints for rubber gaskets, and apply an epoxy sealant post-print.
1. Slicing Settings for Waterproof Walls
To seal the tiny microscopic gaps between layer lines:
- Increase Wall Count: Never print a waterproof enclosure with only 2 or 3 perimeters. Increase the perimeter loops to at least 4 to 6 walls. This forces the nozzle to overlap perimeters, sealing voids.
- Over-Extrude Slightly: Increase the extrusion multiplier (flow rate) by 2% to 4% (e.g. from 1.0 to 1.04). This slightly over-deposits the plastic, forcing it to fill any minor gaps between layers.
- Thicker Layers: Counterintuitively, thicker layers (0.3mm) have fewer layer interfaces per millimetre of height than thin layers (0.15mm), reducing the number of potential leak paths.
2. Designing the Joint (Tongue-and-Groove)
If your enclosure has a lid, a flat flat joint will leak water even with screws.
- Design a tongue-and-groove joint where the lid has a protruding ridge (tongue) that fits into a recessed channel (groove) on the base.
- Place a flexible rubber O-ring or a custom printed TPU gasket inside the groove. When the screws are tightened, the gasket compresses, forming a watertight seal.
3. Post-Print Sealants
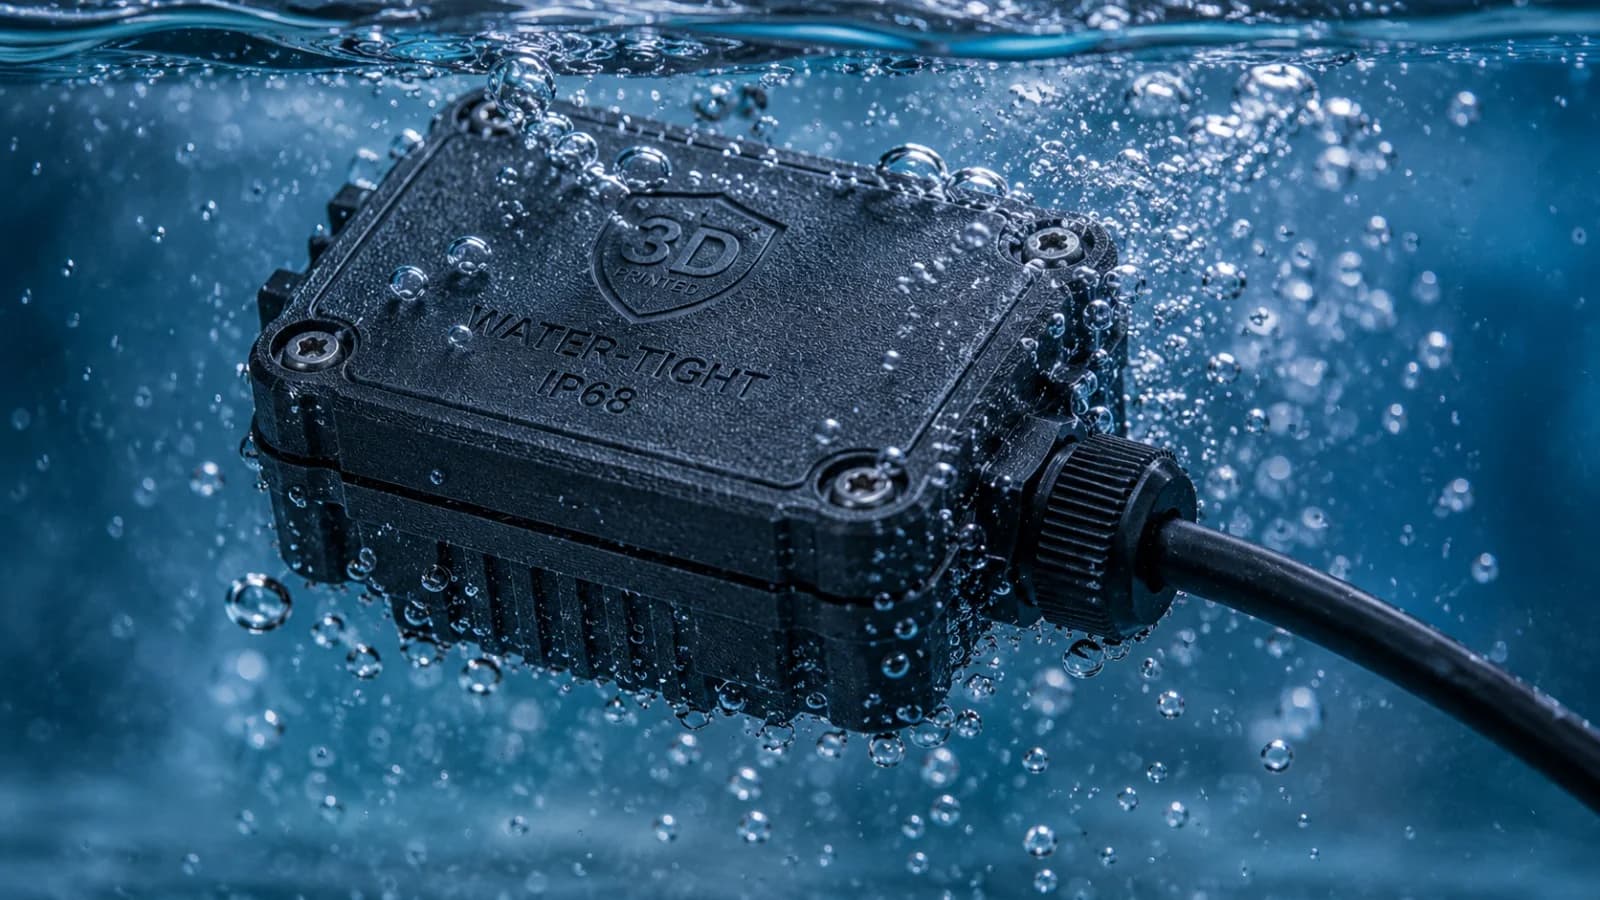
If your part must withstand hydrostatic pressure (like a tank), raw prints are rarely enough. We recommend sealing the part after printing:
- Epoxy Coating: Apply a thin layer of two-part epoxy resin (such as XTC-3D) to the inner or outer walls. The liquid resin flows into the layer valleys, curing into a solid, glossy, completely waterproof shell.
Watertight B2B Enclosures
NovaLab 3D prints custom waterproof enclosures and sensor housings for agricultural and marine applications in North Yorkshire. Submit your CAD design and let Keagan Walker advise on sealing options.
Frequently Asked Questions
Keagan Walker
Founder & Lead Designer
NovaLab 3D is a boutique engineering and additive manufacturing studio based in Pickering, North Yorkshire. We provide B2B clients and product developers with direct access to lead engineering consulting, fast 48-hour turnarounds, and custom FDM production runs.